
A temporary wall is a great way to break up a larger space and add some levels to a room in your Maple Ridge home. You can also use it to create some privacy or add extra stability to your home for construction purposes. If you want to build a temporary wall in your home, then check out this guide so you can make sure your wall will be functional along with being fashionable.
What’s The Difference Between A Permanent And Temporary Wall?
A permanent wall will likely be load-bearing and contain things like electrical wiring or plumbing. They are also built to be as sturdy and solid as possible to ensure they stay in place. The wall will also likely be finished with drywall, finishing tape, and plaster.
A temporary wall is the exact opposite, which is usually just the bare minimum. The wall will likely contain no extras, and it is generally made so it can be quickly demolished or removed, which is especially desirable in a luxury home.. This requires adding a few extra steps before building to ensure that the wall doesn’t damage the existing walls.
Why Would I Want A Temporary Wall Instead Of A Permanent Wall?
A temporary wall is an ideal project for anyone renting a larger unit or for anyone who needs a temporary bedroom for a long-term guest. You can use a temporary wall to make one room (such as your kids' room or an oversized primary bedroom) into separate spaces while maintaining the original floor plan. A temporary wall can be easily broken down and removed when you decide it's time, and it will leave no marks or evidence behind in your new home.
-And-When-To-Call-The-Professionals.jpg)
What Will I Need To Build The Wall?
The supplies you need will largely depend on the amount of work you are putting into your temporary wall. A full wall will require more supplies than a half wall, but both still need the same materials. A sill seal is one of the most important things you will need to ensure the wall isn’t too permanent. A sill seal creates a barrier between the walls to allow for easy separation.
You will also need some 2x4s for support (the amount will depend on the size of the wall you’re making), and you will need to choose a material to cover your walls. As far as tools go, you will likely need
- A circular saw and a miter saw to cut your materials.
- A hammer and a cordless drill to insert your nails and drywall screws
- Tape measure
- Pencil or invisible ink pen
- Utility knife
- Optional: Painting and drywall supplies if you are going for a finished look
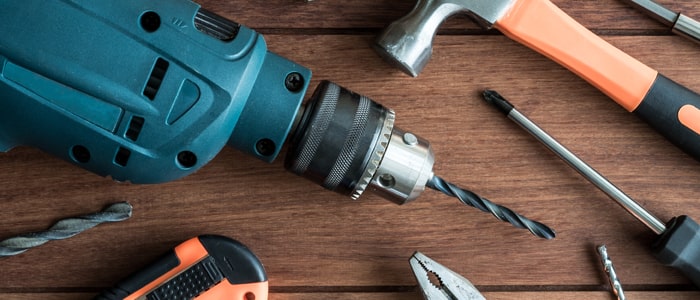
The material you choose to cover your walls will depend on how much you want to spend and what you will be doing with the room. For something like a kids' room, you can get away with a thinner board (like a ⅜ or ½ inch thickness) but if you want soundproofing or stability, invest in thicker drywall (such as a ½ or ⅝ inch thickness).
You will also need some screws, nails, carpenters glue, and some longer 2 ½ inch screws to ensure things are held together correctly. Drywall finishing materials are optional, but if you want the wall to remain there for longer than a few months, it’s a good idea to do the extra work to make it look nice.

Building Your Wall
Step 1) Planning
The first thing you need to do after you have measured your space and acquired your materials is to lay out where the wall will be and where it will be attached. The wall should be attached firmly at 4 points that provide them with stability, but you can do 3 points if you are considering a half wall.
Once you have your area figured out, cover it with your sill seal to give the wall a good anchor and provide a separation between the walls. Once your sill seal is in place, it's time to start cutting your wood to frame the walls.
Step 2) Framing
Framing your wall is one of the most critical steps, and there are a few things that can easily go wrong with it so take your time. You need to make sure your wall is stable, but you also need to avoid using too many materials, or the removal will become a nightmare.
Make sure you account for your measurements when you start cutting the studs to go inside the wall. The easiest way to do this is by first attaching wood to the upper and lower parts of the wall. You will need to remember to subtract the top and bottom supports from your height measurement for the wood to fit correctly.

Step 3) Assembly
Once all of your wood is measured and cut, you can start to assemble the wall. Depending on your space, you might have to do it as you go or build the frame and tilt it into place before securing it. If you do have to tilt it, take into account that you will need a small amount of space on every side to make sure it fits properly, but if you are building into the installed plates (the upper and lower pieces of wood), then you don’t have to worry about it.
There are usually guidelines on framing a wall properly to ensure that it's stable, but you can get away with cutting a few corners here. Your studs don’t need to be placed perfectly, and you don’t need to worry much about insulation. You can also get away with keeping the wall with just a layer of drywall, especially if looks aren’t a significant concern.
Step 4) Finishing
Measure your drywall pieces and screw them into place using the vertical boards you installed in the last step and some drywall screws. Once everything is covered, you can either choose to finish up and keep it as is or do a full coating of finishing tape, drywall paste, and paint. If you want to install any hanging fixtures like TVs or large lights, it’s crucial to finish the wall entirely so that it’s sturdy enough to support them.
Building a temporary wall is one of the best ways to make a room into separate spaces but keep in mind you will need to plan it out before you start. For renters, you should ask your landlord before you start in case they have any issues, and for homeowners, you may actually need a permit, so check with your local building inspectors about it.
:format(webp):quality(80)/u.realgeeks.media/whatsmyhouseworth/Facebook.jpg)